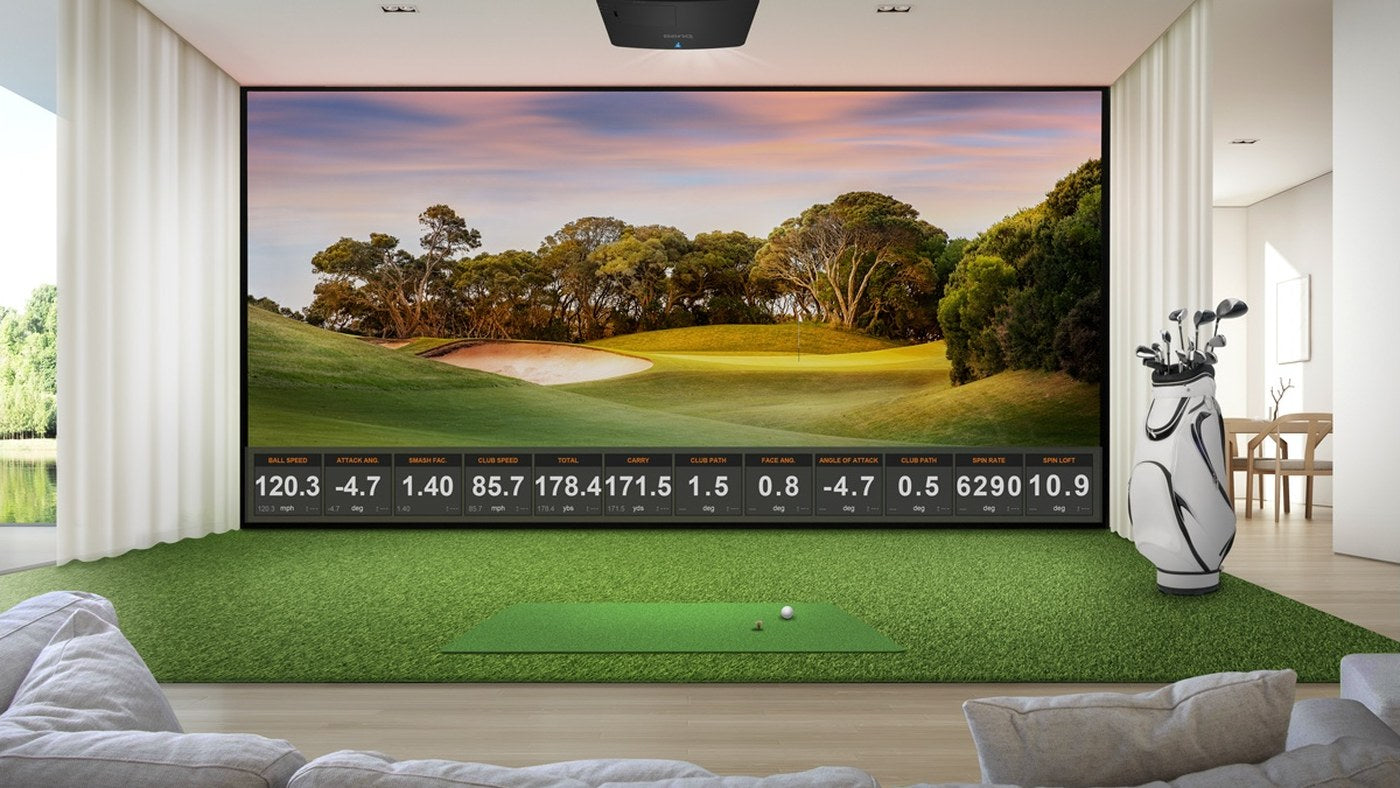

A useful quote for Carl’s Built-In Golf Room Kit needs more than the room’s length, width and ceiling height. It needs the dimensions at the proposed screen plane, the finished floor and wall conditions, the intended protection, and the position of the golfer and equipment.
The Carl’s Place Built-In Golf Room Kit is made to measure. Start with the worksheet below before requesting a configuration. If you are still choosing between a room-based installation and a separate frame, read our built-in vs freestanding comparison first.
Define what the quote should include
Decide whether you want the screen installation alone, the screen with curtains, or a configuration with padded wall and ceiling panels. List the intended treatment on each surface. Mark existing finishes and components you plan to keep.
The product page describes configurable room treatments, not a universal list of electronics supplied with every order. Specify the hitting surface, launch monitor, projector, computer and software separately. A room photograph can show the desired appearance, but the quote should state which parts are supplied and which work remains yours.
Measure at the proposed screen plane
The installation manual describes a screen set on an even plane, perpendicular to the side walls, with at least 1 foot behind it. Its standard instructions assume straight, even 2×4 wood-framed walls; other construction requires an adapted installation plan. Identify the actual wall construction before treating the standard method as applicable.
Mark the proposed screen location temporarily. Measure the room there, rather than using a dimension taken at the doorway. Record any difference between the two locations and show it on the drawing.
| Record | What to measure or describe |
|---|---|
| Width at screen plane | At floor level, mid-height and near the ceiling |
| Height at screen plane | At the left, center and right |
| Rear space | From the proposed screen plane to the back wall and any obstruction |
| Finished floor | Existing surface plus planned turf, subfloor and mat heights |
| Wall construction | Framing type, known attachment locations and any unknown areas |
| Wall and ceiling treatment | Selected panels, curtains or another agreed configuration |
| Openings and obstructions | Door travel, windows, trim, beams, outlets and vents |
| Playing and equipment positions | Ball, stance, sensor and lens references |
| Access | Installation route and space to reach components later |
Do not average away a room that is out of square
Suppose a wall-to-wall width is 170 inches near the floor, 169.5 inches at mid-height and 169 inches near the ceiling. Report all three values. An average of 169.5 inches hides the fact that the upper area is half an inch narrower.
Do not convert that example into an automatic screen-ordering rule. The supplier needs to determine how the selected hardware, flaps and finishes relate to those measurements. Your job is to record the room accurately and identify the narrow or uneven areas before a made-to-measure component is specified.
Separate unfinished dimensions from finished space
Use a simple allowance calculation to expose changes that the finished room will introduce:
Finished clear width = existing clear width − left-side buildup − right-side buildup.
Clear height above the standing surface = existing height − floor/standing-surface buildup − ceiling buildup.
Hypothetical example: a 180-inch-wide room with an assumed 2.5-inch treatment on each side leaves 175 inches between those finishes. A 120-inch ceiling with an assumed 2-inch standing-surface buildup and 2.5-inch ceiling treatment leaves 115.5 inches. These are allowance calculations, not Carl’s panel dimensions or a safe-swing certification. Replace the assumptions with the selected system’s actual installed dimensions.
If the mat is thicker than the surrounding turf, show both heights. The golfer’s clearance and a launch monitor’s reference height may depend on the hitting surface rather than the bare room floor.
Make one plan view and one side view
On the plan view, mark the back wall, screen plane, ball position, stance areas and access routes. Add the projected footprint of the lens and any floor-based device. Include door swings and the space occupied by curtains when gathered.
On the side view, mark the finished standing level, ceiling, screen top, projector body and sensor height. Draw beams and soffits at their measured positions. Label every equipment distance from the reference point its manufacturer uses.
Keep these drawings coordinated. If the ball moves to satisfy a launch monitor requirement, revisit the stance area, projector path and protection plan rather than changing only one symbol on the page.
Take photographs that answer measurement questions
- A straight-on view of the proposed screen wall, including floor and ceiling.
- A view down each side wall showing trim, openings and obstructions.
- A ceiling view showing beams, slopes and planned equipment locations.
- A floor view showing the mat or proposed raised surface.
- Close-ups of uncertain attachment areas or changes in wall construction.
Label the photos to match the drawing. A close-up of a corner is far more useful when the reviewer knows whether it is the front left, rear right or a different part of the room.
Send a single, consistent quote brief
Include the dated drawings, measurement table, labeled photographs, desired screen-and-protection scope and exact equipment models. State which measurements describe the existing room and which describe proposed finishes. List anything still undecided as a question.
Ask the quote to identify the supplied components, the final screen and mounting dimensions, required preparation and the installation documents for the agreed configuration. Resolve any mismatch between the drawing and the written component list before approving the order.
You can use the contact instructions on the Built-In Golf Room Kit page to send that brief. The result should be a quote based on the measured room and agreed scope, with enough detail to explain what will actually be installed.