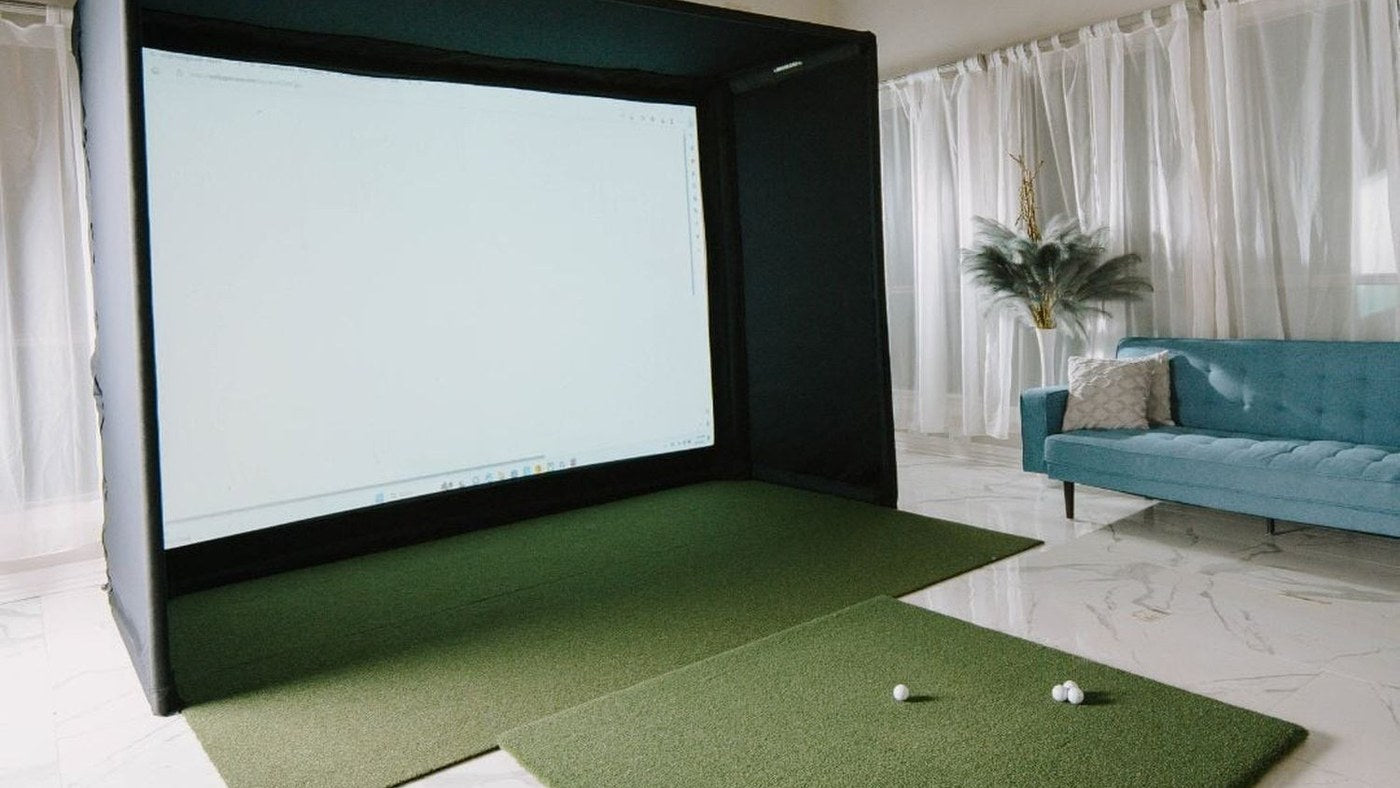

A DIY golf simulator enclosure kit should be evaluated as a parts list, not as one product photograph. Two similarly sized kits can include different framing, screen finishes and protective components. A lower starting price may reflect a smaller selected size or parts you will source separately.
Before comparing the Carl DIY Kit with a SIG8, SIG10 or another enclosure, decide the outside dimensions your room can accommodate and the visible image size you want. Then compare the same scope of supplied parts.
Use a component-by-component comparison
| Component | What to confirm | Why it affects the order |
|---|---|---|
| Impact screen | Material, finished size, aspect ratio and edge style | Determines image area and attachment |
| Surround | Top, sides, depth and rear coverage | Product photos may show optional coverage |
| Structural frame | Full pipe kit, connectors or buyer-sourced pipe | Changes cost, transport and assembly |
| Fasteners | Bungees, clips and specified attachment pattern | An attractive screen still needs correct tension |
| Exposed-frame protection | Foam inserts, padding and covered edges | Gaps need to be assessed from the hitting position |
| Side extensions | Included or optional | Useful coverage can extend beyond the basic enclosure |
| Projector mounting | Compatible mount and permitted structure | An enclosure frame is not automatically a projector support |
Do not assume an accessory pictured on a finished simulator comes with the base enclosure. Launch monitors, projectors, computers, mats and flooring are commonly separate choices. The selected configuration's included-items list should settle the question.
Get three different dimensions
Record the outside frame dimensions, the finished screen dimensions and the viewable image area. They are not interchangeable. A nominal ten-foot enclosure does not necessarily provide a ten-foot-wide projected image, and a fabric measurement can include its finished border.
Write those dimensions on your room sketch. Leave the assembly and service clearances required by the chosen system. If an enclosure can be physically placed between two walls but cannot be assembled or have its screen replaced there, it is not a complete fit.
Next, measure the finished floor height where the golfer stands. A mat and raised floor reduce usable headroom. The enclosure's height tells you about the frame; it does not certify that every golfer can swing a driver safely.
Decide who supplies the pipes
With a configurable DIY system, confirm whether the selected option includes the full pipe framing kit. If you plan to source pipe locally, get the manufacturer's current cut list and exact material specification before shopping. Similar-looking tubing is not automatically interchangeable with the required system.
Include delivery or transport, cutting and the possibility of a cutting error in the budget. Check whether the longest pieces fit in your vehicle and through the route to the room. A supplied pipe kit can be worthwhile if it removes a difficult sourcing step, even when the bare kit's price looks lower.
This is especially useful when comparing a configurable Carl's Place kit with a SIG enclosure whose selected package includes its frame components. Compare the delivered scope rather than assuming their entry prices describe identical contents.
Choose screen shape before projector position
A room-first screen size can be sensible, but it must be reconciled with the projector's native image format. A square screen and a 16:9 projector do not automatically produce an edge-to-edge square picture without unused pixels, cropping or scaling choices.
Resolve that choice before fixing the projector mount. Use actual visible dimensions and the intended native frame in the throw calculation. If the projector cannot produce the needed image from a clear mounting position, change the model or layout before ordering the enclosure.
Plan the impact area as a whole
The screen is one part of ball containment. Look for exposed frame sections, gaps at the screen edges, a low front edge that can deflect a shot and unprotected surfaces outside the enclosure. Follow the manufacturer's attachment and clearance guidance; excessive tension and a hard surface immediately behind the screen can create problems that a more expensive fabric does not solve.
If high shots can leave the basic enclosure, evaluate the matching baffle or side-extension accessories. Use components intended for that system and follow its instructions. Do not improvise a structural mount or assume unrelated branded accessories fit the same frame.
Build an order sheet you can actually use
List the exact enclosure size and screen material first. Under it, mark every remaining item as included, optional, separately sourced or already owned. Add the cost and delivery status for each item. An empty cell means the quote is incomplete.
Before placing the order, check the room sketch against the chosen monitor, projector and mat. The aim is a kit that becomes a usable simulator with a known number of additional purchases, not a collection of parts that leaves the hardest installation decisions until delivery.
Plan your next step
Compare Carl DIY Kit and SIG10 on the same included-parts basis. Our Carl DIY vs Pro comparison explains the next step up.
Sources and specifications
Specifications reviewed October 10, 2026. Dimensions and worked examples are for planning; use the current installation guide and selected product configuration before ordering.